เว็บสล็อต SAGAME66 Step by step instructions to Draw A Polar Bear

james robert


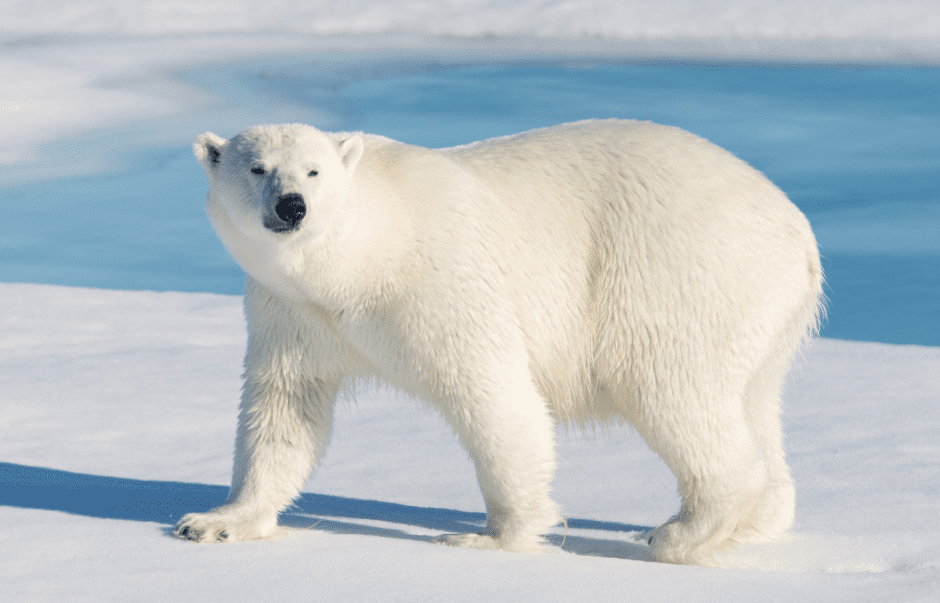
How To Draw A Polar Bear Polar bears must be tracked down all เว็บสล็อต SAGAME66 through the Cold area, so it’s doubtful that we’ll detect one very close except if you’re going to the North Pole. Why not draw a delightful polar bear all things considered? By figuring out how to draw one, you will have your own polar bear readily available.
To make it more straightforward, we’ve made a bit by bit course of drawing a polar bear, summed up in 9 basic and simple tasks. Every guidance has delineations you can use as a visual aide, making it simple to follow the means. The greatest aspect? You can likewise redo your plan and pick the tones! If you are looking for drawing ideas, cool drawings, drawing for kids, cartoon drawings, flowers drawing, animals drawing then you are at the right place, here you will get all of these drawings.
Begin by illustrating the polar bear’s head on top of your paper. You can make the polar bear’s head by just drawing an unpredictable circle shape with two half circles on each side over the head, framing the ears. To guarantee that the polar bear will be attracted the middle, you can make reference lines by defining vertical and even boundaries that meet on your paper.
The upward line over the flat line in the center is where you ought to draw the polar bear’s head. Doing this will give you sufficient room at the base for the polar bear’s whole body.
Draw a stretched, bended shape under the polar bear’s head to structure the arm. Ensure the feeder is shifted somewhat, as displayed in the representation. Note that the arm we will attract this step is the left arm, so it ought to be on the polar bear’s left side.
Define a descending inclining boundary on the right side under the polar bear’s head to frame the right arm. Then, define a bended boundary that nearly incorporates a fragmented circle straightforwardly associated with the promontory. This makes the hand, finishing the polar bear’s right Armin the wake of finishing this step, the two arms of the polar bear ought to now be finished.
Go on by underscoring the passed on arm to shape the left half of the polar bear’s lower body.
Rehash the past step on the contrary side to finish the lower body shape. As of now, the lower body ought to be completely organized. Presently all that is absent from the body are the legs, which we’ll chip away at in the following stage.
Draw a short, bended line looking inverse headings down the center of the polar bear’s lower body. To make the two feet, define another boundary framing a side oval shape at the lower part of every leg.
Recall that the polar bear’s feet ought to point in inverse headings, as displayed in the representation above.
In this step, we will draw subtleties and examples all around the polar bear’s body. It assists with making your polar bear look practical. Through and through, continue by drawing a shape inside every ear following its unique framework. This makes the ears inside. Then, draw a little circle on the polar bear’s face, illustrating its gag — at last, little bended lines on his hands to make the vibe of paws.
Continuing on toward the polar bear’s facial elements, keep drawing an unpredictable circle shape for the nose. Then. Draw a little sideways oval shape on the button. Then, at that point, two bended lines associated under the nose. Then define a bended boundary only underneath to shape the mouth. Remember to add a bended line inside the mouth to make the polar bear’s tongue!
Complete the look by making eyes and eyebrows. Define two short bended boundaries framing the curved eyebrows. Ensure the eyebrows are thick and lined up with one another. Then, draw a circle shape under every eyebrow to make the eyes.
Presently add a shadow to the eyes while passing on a little unshaved dab to make the eyes seem as though they are shining! For a much more emotional impact, draw a parallel oval shape on the two cheeks. It makes your polar bear’s cheeks red; so charming! Since we have effectively drawn a polar bear, it’s at last time.

All Rights Reserved © 2023