The step-by-step process of sod installation

michaelevansnet


Before putting down new sod, you need to get the area ready. This means removing any old grass, weeds, or debris. You can use a sod cutter to do this. It’s important to start with a clean area so the new sod can grow well without old weeds and grass getting in the way.
To prepare the soil properly, start by tilling it to a depth of 4 to 6 inches. This breaks up compacted soil, making it looser and more suitable for new sod. Looser soil allows roots to penetrate more easily, which is essential for the sod’s health and stability. While tilling, it’s a good opportunity to enhance the soil quality. Mix in organic matter like compost, which enriches the soil with nutrients, or add a layer of quality topsoil to provide a nutrient-rich base. This enrichment process improves the soil’s fertility, structure, and drainage, creating an ideal environment for sod to thrive. Testing the soil’s pH and nutrient levels before adding amendments can guide you on what your soil specifically needs to support the new sod.
After preparing the soil, the next step is to level the ground. This is crucial to prevent water pooling and to ensure the sod lays evenly. Use a rake or a landscaping level to smooth out the surface. Carefully remove rocks, roots, and other debris that could interfere with the sod laying flat and forming a uniform root system. Check the area for low spots where water might collect and fill them in to maintain an even surface. The goal is to achieve a flat, smooth surface that will allow the sod to make consistent contact with the soil beneath it, which is necessary for healthy root growth and water absorption.
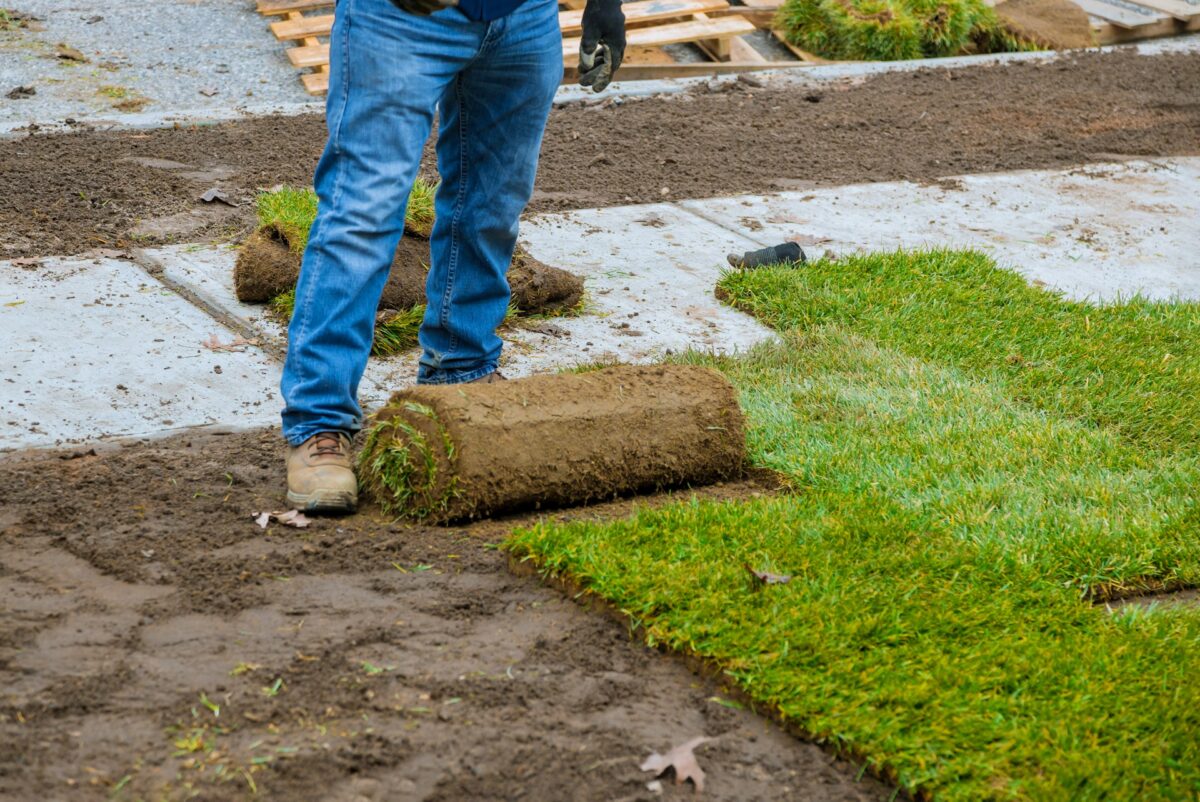
When laying the sod, start by planning the layout. Lay the sod pieces in a staggered, brick-like pattern to minimize seam erosion and ensure better water distribution. Begin at a straight edge, such as along a driveway or sidewalk, to help keep your lines straight and reduce the need for trimming. Place the sod pieces tightly together to avoid gaps and overlap, as these can cause drying and create brown spots. After all the sod is laid, use a lawn roller to go over it. This step presses the sod down into the soil, enhancing the contact between the sod roots and the soil, which is vital for the sod’s establishment and growth.
Immediate and appropriate watering after laying the sod is critical. The first watering should be thorough, soaking both the sod and the soil beneath to encourage root establishment. Continue to water regularly, keeping the soil consistently moist but not waterlogged. Over the first few weeks, monitor the sod and adjust the watering frequency and volume based on weather conditions, soil moisture, and sod growth. As the sod’s roots develop and penetrate deeper into the soil, it will require less frequent but deeper watering sessions. This deeper watering encourages the roots to grow further down, seeking moisture, which helps the sod become more drought-resistant and establishes a strong foundation for a healthy lawn.
After the sod is well-rooted, which usually takes a few weeks, you should begin a routine lawn care program. This includes regularly mowing the lawn to keep the grass at an optimal height, which encourages healthy growth and prevents the lawn from becoming stressed or vulnerable to pests and diseases. It’s important to mow the grass at the right height, typically not removing more than one-third of the blade length at a time to avoid shocking the grass.
Fertilizing is also crucial for maintaining a healthy lawn. The right fertilizer will replenish nutrients in the soil, promoting vigorous growth and the lush green color of the grass. It’s best to use a fertilizer that matches the specific needs of your grass type and soil conditions. Typically, fertilizing is done in the spring and fall, but the schedule can vary based on the local climate and the type of grass.
Watering practices should be adjusted according to the season and weather conditions. During hot, dry periods, the lawn may need more frequent watering, while in cooler or rainy periods, less watering is required. The goal is to provide the lawn with a deep watering that reaches the roots, rather than just wetting the surface. This encourages the roots to grow deeper, making the lawn more drought-resistant and healthy.
If you notice the lawn showing signs of distress, such as yellowing leaves, patchy or uneven growth, or signs of pest infestation or disease, it’s important to act quickly. These symptoms can indicate issues like overwatering or underwatering, nutrient deficiencies, or problems with pests or diseases.
Check the soil’s moisture level to ensure you are providing the right amount of water. Both overwatering and underwatering can lead to lawn problems. If the soil is constantly wet, it can cause root rot and fungal diseases, while dry soil can stress the lawn, making it more susceptible to pests and disease.
If you suspect a pest or disease problem, look for common signs such as discolored patches, chewed grass blades, or visible insects. Identifying the problem early can help you take the appropriate action, such as applying a pest control treatment or disease-resistant formula. If you’re unsure, consulting with a lawn care professional can provide you with the right diagnosis and treatment options.
The success of sod installation in Dallas, or any location, relies heavily on how well the initial preparation, installation, and subsequent care are managed. Proper soil preparation, correct sod laying techniques, and consistent aftercare are fundamental to cultivating a resilient and attractive lawn. Regular lawn maintenance, including mowing, fertilizing, and watering, along with vigilant troubleshooting, are key to sustaining the health and beauty of your lawn.
By investing time and effort in these activities, you can ensure that your sodded lawn remains a vibrant and inviting outdoor space. Addressing any issues promptly and adjusting care practices as needed will help you maintain a lush, green lawn that enhances your property’s appeal and provides a pleasant outdoor environment for years to come.

All Rights Reserved © 2023