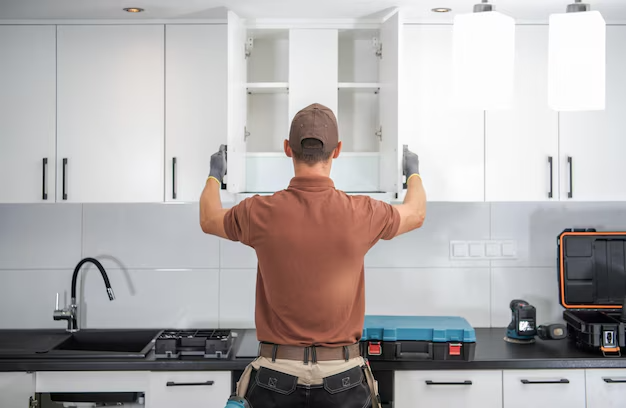
How To Install A Kitchen A Step By Step Process

Installing a kitchen can seem like a daunting task, but with the right approach, it’s a manageable and rewarding project. Whether you’re upgrading your home in Corby or simply refreshing your space, this kitchen installation guide will walk you through the process in seven easy steps. From planning to finishing touches, you’ll gain expert insights and practical tips that ensure a smooth experience, save costs, and deliver a stunning result.
How to Install a Kitchen Steps By Step Process
Plan and Design Your Kitchen Layout
The foundation of any successful kitchen installation is thorough planning. Begin by assessing your needs and preferences, focusing on functionality and style. Consider the classic kitchen work triangle—the efficient flow between the sink, stove, and refrigerator—to optimise your layout. Measure your space meticulously, including doors, windows, and any existing fixtures, to ensure your new cabinets and appliances fit perfectly.
Use design software or sketch your ideas on graph paper to visualise your kitchen. Don’t forget to factor in storage needs, countertop space, and lighting. Setting a realistic budget at this stage is crucial; research kitchen installation costs in your area, including materials and labour, to avoid surprises later. Ordering materials in advance can prevent delays and keep your project on track.
Prepare the Space
Before installation, clear out your old kitchen units, appliances, and fixtures. This step involves disconnecting plumbing and electrical connections safely—consider hiring licensed professionals for this to ensure compliance with local regulations. Clean the area thoroughly and make any necessary repairs to walls or flooring.
Proper preparation prevents complications during installation and sets the stage for a seamless process. Remember, a well-prepared space can significantly reduce the time it takes to install your kitchen.
Gather Tools and Materials
Having the right tools and materials ready is essential. Common tools include a tape measure, spirit level, power drill, screwdrivers, saw, clamps, and safety gear like gloves and goggles. For materials, ensure you have your cabinets, countertops, screws, brackets, adhesive, and caulk on hand.
Choosing high-quality materials from reputable suppliers or local kitchen installers can improve durability and aesthetics. Check reviews and ask for recommendations to select the best products for your kitchen remodel.
Install Base and Wall Cabinets
Start with the base cabinets as they form the foundation of your kitchen. Use a spirit level to ensure each unit is perfectly aligned and secure them to the wall studs with screws. Use shims to adjust for any uneven walls or floors.
Next, install the wall cabinets, beginning with the corner units if applicable. Precise alignment here is critical to maintain a professional finish and to ensure doors and drawers operate smoothly. Take your time to double-check measurements and levels throughout this step.
Fit Countertops and Work Surfaces
Once the cabinets are securely installed, measure and cut your countertops to fit. Materials like laminate are easier to handle for DIYers, while granite or quartz may require professional installation due to their weight and complexity.
Secure the countertops to the cabinets and seal any seams properly to prevent water damage. This stage significantly impacts both the look and functionality of your kitchen, so accuracy is key.
Install Appliances and Fixtures
Next, install your kitchen appliances such as the hob, oven, dishwasher, and sink. Ensure all plumbing and electrical connections are correctly made—this is often best left to qualified tradespeople to guarantee safety and compliance.
Add fixtures like taps and lighting, positioning them for optimal use. Check that all appliances are functioning correctly before proceeding to the final stages.
Add Finishing Touches and Final Inspection
Complete your kitchen by installing plinths, cornices, handles, and any decorative trims. These finishing touches elevate the overall aesthetic and give your kitchen a polished look.
Conduct a thorough inspection to check alignment, functionality, and aesthetics. Address any minor adjustments needed and clean the space to remove dust and debris from the installation process. This ensures your kitchen is ready for use and looks its best.
How Long Does Kitchen Installation Take?
On average, a kitchen installation takes between one to two weeks depending on the project’s complexity, size, and whether you’re DIYing or hiring local kitchen installers. Planning and preparation can shorten this timeline, while custom designs or unforeseen issues may extend it.
Kitchen Installation Costs and Budgeting
Kitchen installation costs vary based on materials, labor, and appliances. On average, expect to spend between £3,000 to £10,000 or more for a full installation. DIY installation can reduce labor costs but requires time and skill. Always factor in a contingency budget for unexpected expenses.
Why Choose Us Reliable Builders Corby?
At Reliable Builders Corby, we bring years of hands-on experience and expert craftsmanship to every kitchen installation project. Our team understands the nuances of kitchen installation—from precise measurements to flawless finishes—ensuring your kitchen is both beautiful and functional. We pride ourselves on transparent pricing, timely completion, and exceptional customer service.
Choosing Reliable Builders Corby means investing in quality and reliability. Ready to transform your kitchen? Contact Us today for a free consultation and let us help you create the kitchen of your dreams.


