Hide Skimmer Lids: Contractor Tips for Invisible Integration

LaurenBracy


Have you ever caught yourself gazing at a luxurious pool, only to spot an unsightly skimmer lid disrupting the perfect layout? Do your clients ever complain about dull or clunky plastic covers sticking out like a sore thumb? If so, you’re not alone. Many contractors across Australia are turning to cutting-edge methods to hide skimmer lids, ensuring a smoother, more elegant finish for every poolside project.
When we talk about hiding skimmer lids, we’re really talking about invisible integration—making sure the lid blends in with the pool’s tiling or surrounding surfaces. This approach not only boosts the property’s value but also satisfies clients who crave a polished look. For Australian projects, hidden skimmer lids are swiftly becoming the norm due to their aesthetics, safety benefits, and the ability to create a flawless pool environment that’s sure to impress.
Integrating ways to hide skimmer lids is now a smart design move, enhancing both appearance and long-term satisfaction with the finished pool.
What Is a Skimmer Lid and Why Hide It?
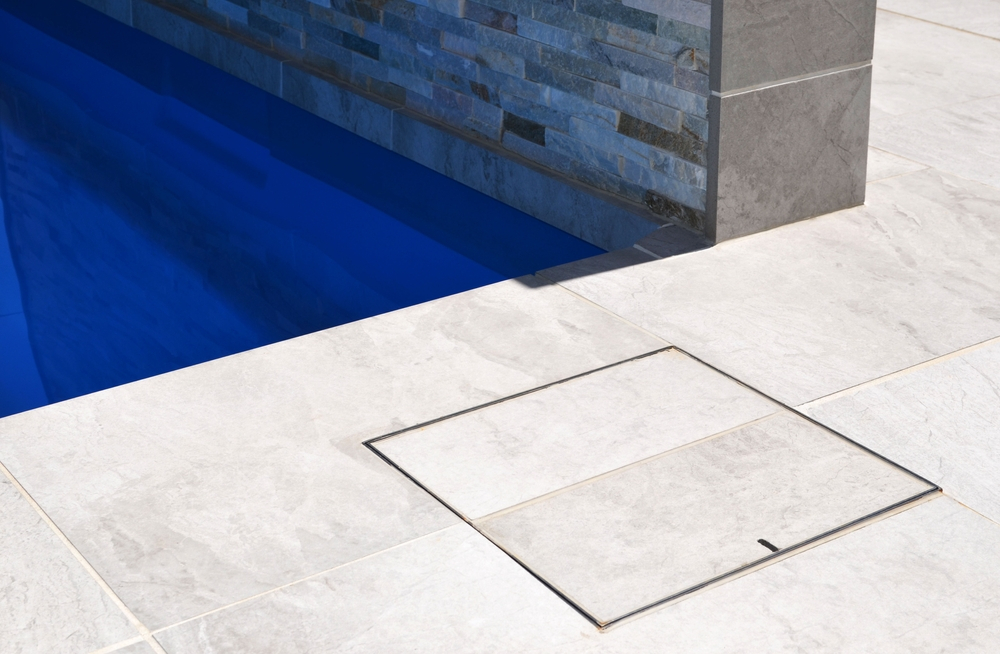
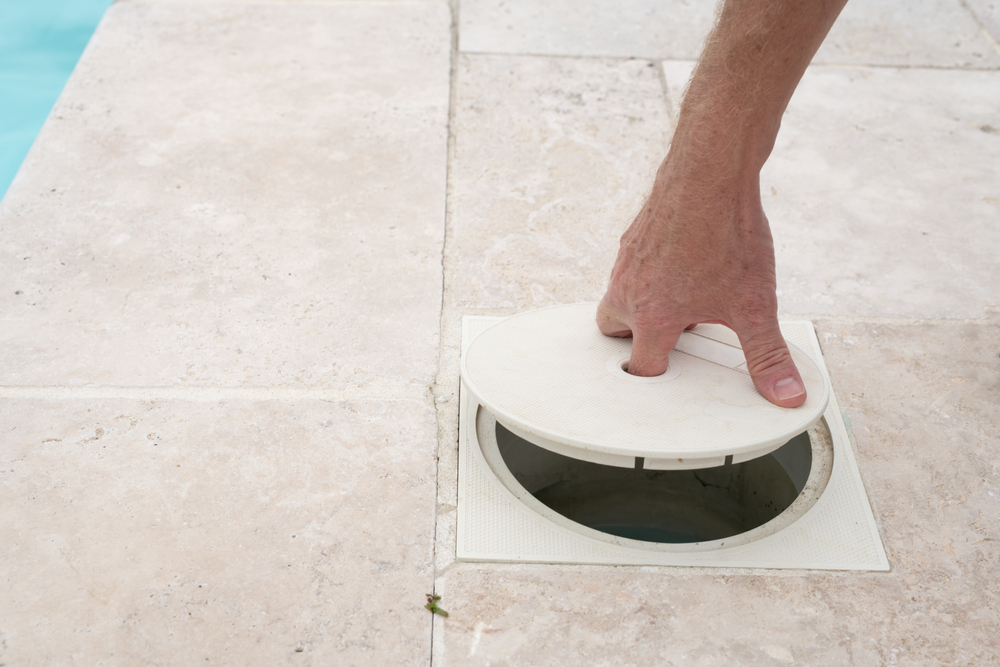
A standard skimmer lid sits flush over the opening to the pool’s skimmer basket. Typically made of plastic or resin, it covers the skimmer to keep large debris out and maintain safety. However, a traditional lid often stands out, ruining the overall aesthetic. By choosing to hide skimmer lids, you create a seamless surface that’s visually pleasing and durable. This small detail can elevate any pool design.
Common Client Pain Points
Homeowners often complain about plastic skimmer lids clashing with expensive tiling or cracking over time. Some worry about the lid wobbling under foot traffic. Clients also ask whether a hidden skimmer lid affects pool performance. Addressing these concerns early helps ensure a smooth installation and greater client satisfaction.
Is a Hidden Skimmer Lid Worth the Investment?
Absolutely, A hidden skimmer lid boosts a pool’s appearance while maintaining function. Many clients happily invest once they see how sleek the final result looks. Though it requires some planning and specialised materials, the outcome—a premium, streamlined pool finish—is well worth it.
Proper planning sets the stage for a successful and straightforward job. From double-checking safety protocols to selecting the correct materials, you can bypass plenty of potential hiccups by preparing thoroughly.
Site Preparation and Safety Measures
Start by mapping out the area around the pool and deciding where the hidden skimmer lid will go. Make sure you follow all local guidelines, including fencing and water safety regulations. In Australia, there’s special emphasis on avoiding tripping hazards and water overflow issues. Verify that the pool’s edge or coping is structurally sound before installing a concealed lid. Also, ensure that nobody is swimming or using the pool during the initial phases of work, keeping everyone out of harm’s way.
Choosing the Right Materials
When you’re looking to hide a skimmer lid, the standard plastic cover won’t cut it. Instead, you’ll often use the same paving or tiling material that surrounds the pool, or an aesthetically similar stone that offers a sturdy finish. You might need a specialised tray system designed for hide skimmer lids installations. These trays lock in place, support the paver or tile above, and keep it level with the rest of the decking.
Carrying out a hide skimmer lids installation calls for precise measurements and careful alignment. If you’ve never tackled one before, don’t worry. Breaking the process into straightforward steps helps ensure a confident approach that reduces the likelihood of errors.
Design is crucial when it comes to hiding a skimmer lid. The ability to blend materials seamlessly not only pleases picky clients but also boosts project quality across the board.
Matching Surrounding Tile or Stone: One important aspect of hiding a skimmer lid is choosing a tile or stone that precisely matches or complements the pool decking. Mixed textures can look haphazard, so stick to the same batch of materials if possible. Even slight shade differences can be noticeable in bright sunlight, so ideally plan your supply to include a piece for the lid.
Maintaining a Seamless, Low-Profile Finish: To achieve a low-profile look, focus on transitions where materials meet. Use subtle grout lines and ensure the adhesive sets at the correct thickness. When working with natural stone, try to match veins or patterns. A continuous appearance helps hide skimmer lids effectively.
Creative Ideas for Poolside Aesthetics: Beyond simple matching, consider custom patterns, mosaic inlays, or contrasting colours that highlight the pool’s border. Though hidden, the lid can complement a stylish, cohesive design. Choose materials that reflect the homeowners’ taste, whether modern or natural.
A hidden skimmer lid should be easy to clean and maintain. Yet, it’s always good to know what to do should cracks, leaks, or alignment problems occur.
Summing up, hidden skimmer lids offer a polished, cohesive look to pool areas, helping you move beyond traditional plastic covers. They’re built to blend with surrounding materials and boost both property value and aesthetic appeal. By investing in strong materials, precise measurements, and proper sealing, you can deliver a final product that impresses homeowners and stands up to day-to-day use.
The future of hide skimmer lids in Australia looks bright as more clients realise the potential of a chic yet functional design. New tray technologies will likely make these lids easier to install. Ultimately, the goal is to strike the right balance between form and function. If you follow the right materials and align everything properly, you’ll have a winning formula. Whether you’re a homeowner or contractor, choosing to hide skimmer lids is a worthy investment. It ensures peace of mind and a visually stunning pool design that lasts.
