Build Himalayan Salt Wall with Salt Brick for Office, Home Decor

hendraedward


Installing content on Himalayan salt blocks to form a salt wall in homes or offices is a great way of bringing these into practice in your home, transforming a space, be it a treatment room or other, into a retreat-like ambiance and health-friendly environment. If you’ve ever encountered one of these glowing, pink-tinged salt walls in a spa or fancy restaurant, you may be wondering how to replicate this eye-catching feature in your own home.
The following article will walk you through how to build your own Himalayan salt wall using Himalayan salt brick. Whether for your home or office, this DIY project can be a gratifying experience. Let’s dive into the details!
Unique Aesthetic Appeal
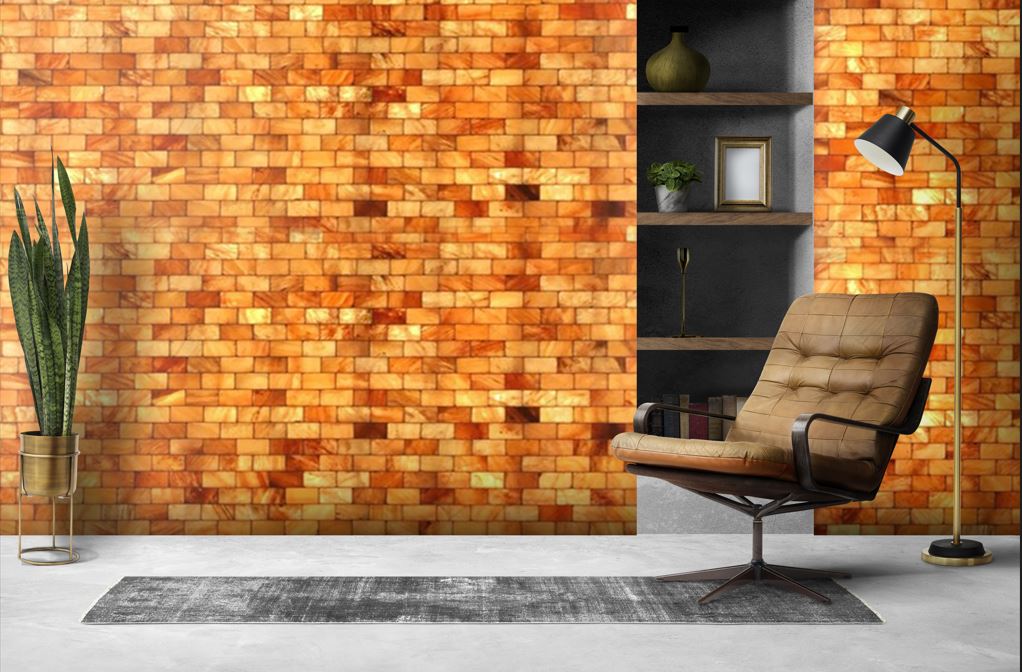
Himalayan salt brick occur in naturally pink or orange colors and have an amazing aesthetic quality. Arranged in a wall, they make a beautiful glow, especially when backlit. This effect of natural lighting is aesthetically pleasing and also makes the environment soothing.
Air-purifying properties are one of the biggest reasons people are incorporating Himalayan salt into their decor. This makes it a perfect addition to any living space, especially for people with respiratory problems.
They are durable and require low maintenance.
Himalayan salt is very sturdy, and it is ideal for home and office use. Traditional salt has high solubility, therefore, it’s not the best salt to use in your kitchen in humid areas. However, Himalayan salt is a much denser material that can withstand high levels of humidity in the environment. And maintenance is super easy, as all you need to do to keep your salt wall looking good is dust it now and then.
Before you can begin the construction of your Himalayan salt wall, you will first need to collect some supplies:
The very first item on your list should be Himalayan salt brick, of course. These bricks are sold in different size types, so make sure you pick the ones that are compatible with your wall design. You’ll also want to ensure the bricks are of high quality so that when lit, they’ll shine beautifully.
You’ll want a strong adhesive that’s appropriate for both the bricks and the material you are mounting them onto. Some people like to use tile adhesive, but be sure to read the manufacturer’s instructions for the best results.
If you want to showcase your Himalayan salt wall, ambient lighting is the way to go. Using strip lights or backlighting works very well to give that warm, soft light that is such a hallmark of salt walls.
Step 1: Pick a Good Spot
Salt Wall Location Your salt wall needs to be in just the right place. Whether you want an accent wall in your living room or a more muted place to boost calm in your office, ensure it’s an area that’s visible and can easily be lit. Think about spaces like the entryway, living room or bathroom.
Step 2: Take measurements and plan the design
After you know where you’re putting it, measure the wall area where you plan to install the salt brick. Sketch a grid or pumping layout for the bricks. Do you want something symmetrical, or are you more into the haphazard, crumpled-up look of stacked bricks? This will guide you in estimating how many bricks you need as well as how much adhesive you should purchase.
Step 3: Surface Prep for Mounting
Before you start to glue the bricks onto the wall, you need to make sure the surface is clean and dry. For best results, consider scraping off excess paint or other residue if you’re mounting the salt wall on a painted wall.
Step 4: Salt Brick Installation
Ready to dive into the practical aspect of it all? Begin by applying the adhesive on the back of the salt brick and carefully pressing them on the wall. Begin laying bricks from the bottom of the wall to the top, making sure that each brick is level as you run it in line with the design you called for.
Step 5: Include Lighting to Accentuate the Wall
Once your salt wall is up, it’s time for lighting. For the best effect, hide the source of the LED strip lights behind the wall or under the salt brick for that soft, warm glow. Use colored lights for more drama as well.
Accent Wall in Living Room
A Himalayan salt wall is a unique accent wall idea for the living room. Use muted tones and minimalist furniture to create a calming and modern feel.
Himalayan salt wall for stress relief in the office
Getting a salt wall into your office is a brilliant idea to bring relaxation and peace and quiet. The soft light and air-purifying benefits of such organisms can aid a peaceful work setting.
To find a perfect focal point, a Himalayan salt wall is ideal if you are lucky enough to have a spa or relaxation room at home. The floating light and restorative elements work together to set the mood for a top-notch wind-down environment.
Regular Cleaning and Dusting
Regular cleaning is one of the simplest maintenance duties for Himalayan salt walls. The wall may be dusted with a soft cloth to remove the dust accumulated on it. Another tip: Do not use water since salt is water-soluble and can dissolve when exposed to moisture.
While Himalayan salt is tough, in places with high humidity, it is better to keep it away from humidity to prevent it from decaying. Do not place this wall near water spaces such as bathrooms, where they are moist.
Common Mistakes to Avoid
An example of a common mistake would be putting the bricks too close together or putting them in uneven patterns. You want to take your time with laying the bricks and ensure that they are all fairly well aligned, as it can be quite an eyesore if they are not done well.
Some glues are not suitable for Himalayan salt brick. Be sure to choose one that’s strong enough to hold the weight of the bricks and compatible with the material.
A Himalayan salt wall can be built in your home or office and is an exciting way to beautify your room and reap health benefits as well! Using the right materials and a bit of patience, you can produce an amazing feature wall that glimmers with calming, therapeutic light. Plus, the air-purifying qualities make it a lovely addition to any space.
Himalayan Salt Wall health benefits include:
I have Himalayan salt walls, which help cleanse the air and reduce allergens and pollutants. They also stimulate the production of negative ions, which may promote a better mood and lessen stress levels.
How do I install Himalayan pink salt blocks?
Step one: Select a location and measure the area. Clean the surface, apply adhesive on its bricks and arrange them carefully on the wall. And be sure to include lighting for the glowing effect!
Are Himalayan salt walls suitable for high-humidity environments?
Salt walls shouldn’t be placed in locations containing extreme humidity, such as the bathroom, since moisture can damage the salt.
How do I care for the Himalayan salt wall?
Dusting as you normally would is sufficient. Do not use water on the bricks, as it can dissolve the salt.
How safe are Himalayan salt walls for kids and pets?
Yes, Himalayan salt walls are safe for children and pets as long as the salt is correctly installed and maintained.
