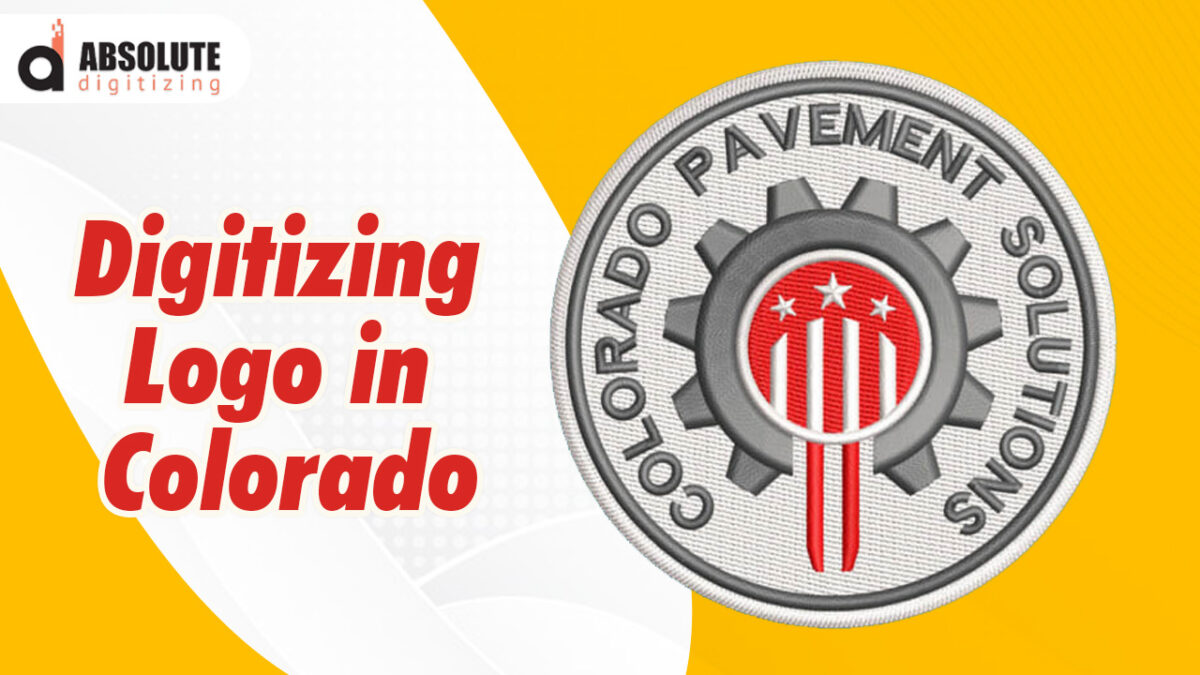
Digitized Logo for Embroidery: The Ultimate Guide to Logo Digitizing

In today’s competitive business landscape, branding is everything. A well-designed logo helps establish your brand identity and makes your business memorable. However, when it comes to apparel, promotional products, or corporate uniforms, simply having a digital logo isn’t enough—you need a digitized logo for embroidery.
Logo digitizing is the process of converting a standard image or logo into a stitch file that an embroidery machine can read and replicate on fabric. This ensures crisp, professional, and high-quality embroidery every time.
In this comprehensive guide, we’ll explore:
-
What logo digitizing is and why it’s important
-
The digitizing process step by step
-
Best file formats for embroidery digitizing
-
Common challenges in logo digitizing and how to overcome them
-
Tips for choosing the best digitizing service
Whether you’re a business owner, a designer, or an embroidery enthusiast, this guide will help you understand how to get the best digitized logo for embroidery.
What Is Logo Digitizing for Embroidery?
Logo digitizing is the art of transforming a digital logo into an embroidery-friendly format. Unlike printing, embroidery involves stitching threads onto fabric, which requires a specialized file that tells the embroidery machine:
-
Where to stitch
-
What stitch types to use (satin, fill, running stitch, etc.)
-
How dense the stitches should be
-
The correct color sequence
A poorly digitized logo can result in uneven stitching, thread breaks, or a distorted design. Professional digitizing ensures that your logo looks sharp, durable, and visually appealing on any fabric.
Why Is Logo Digitizing Important?
1. Ensures High-Quality Embroidery
A well-digitized logo prevents common embroidery issues like puckering, gaps, or misaligned stitches. Professional digitizing accounts for fabric type, thread tension, and stitch density.
2. Saves Time and Reduces Costs
A poorly digitized logo may require multiple test runs, wasting time and materials. A properly digitized file ensures smooth production with minimal errors.
3. Maintains Brand Consistency
Your logo represents your brand. A clean, precise embroidery ensures your branding remains professional across uniforms, hats, bags, and other promotional items.
4. Works on Different Fabrics
Different fabrics behave differently under stitching. A skilled digitizer adjusts the design to ensure it looks great whether embroidered on cotton, polyester, denim, or fleece.
The Logo Digitizing Process Step by Step
Step 1: Preparing the Artwork
Before digitizing, the logo must be in a clean, high-resolution format (preferably vector files like AI, EPS, or SVG). Low-resolution images (JPEG, PNG) may require manual adjustments.
Step 2: Choosing the Right Stitch Types
-
Satin Stitch – Best for thin lines, text, and borders (creates a smooth, shiny finish).
-
Fill Stitch – Used for larger areas (provides solid coverage).
-
Running Stitch – Ideal for fine details and outlines.
Step 3: Setting Stitch Direction and Density
-
Stitch direction affects texture and durability.
-
Too many stitches can make the design stiff; too few can cause gaps.
Step 4: Assigning Thread Colors
The digitizer matches the logo colors to the closest available embroidery thread shades (using Pantone or brand-specific colors).
Step 5: Adding Underlay Stitches
Underlay stitches stabilize the fabric and prevent distortion during embroidery.
Step 6: Testing the Design
A sample is stitched to check for errors. Adjustments are made if needed.
Step 7: Finalizing the Embroidery File
The digitized file is saved in the correct machine format (DST, PES, EXP, etc.) and sent for production.
Best File Formats for Embroidery Digitizing
| File Type | Best For |
|---|---|
| AI / EPS / SVG | Vector files (ideal for digitizing) |
| JPEG / PNG | Low-quality, may need manual adjustments |
| DST / PES / EXP | Machine-readable embroidery formats |
For best results, always provide a vector file (AI, EPS, or SVG) to your digitizer.
Common Logo Digitizing Challenges & Solutions
1. Small Text Becomes Unreadable
-
Solution: Use bold, simple fonts or increase the text size. Avoid intricate scripts in small sizes.
2. Too Many Details Get Lost
-
Solution: Simplify complex logos by removing tiny elements that won’t stitch well.
3. Fabric Puckering
-
Solution: Adjust stitch density and use proper underlay stitches.
4. Color Bleeding or Misalignment
-
Solution: Use high-quality threads and proper digitizing techniques to prevent gaps.
How to Choose the Best Logo Digitizing Service
Not all digitizing services are equal. Here’s what to look for:
✅ Experience & Expertise – Check reviews and portfolio samples.
✅ Fast Turnaround Time – Some services offer 24-hour delivery.
✅ Revisions Policy – Ensure they offer free edits if needed.
✅ Affordable Pricing – Prices vary, but avoid extremely cheap services (quality may suffer).
✅ Multiple File Formats – They should provide DST, PES, EXP, etc.
DIY vs. Professional Digitizing: Which Is Better?
-
DIY Digitizing Software (like Wilcom, Hatch, or Brother PE-Design) can be cost-effective but requires a steep learning curve.
-
Professional Digitizing Services ensure high-quality results with minimal hassle.
For businesses, professional digitizing is recommended to maintain brand consistency.
Conclusion
A well-digitized logo is crucial for high-quality embroidery. Whether you’re branding uniforms, hats, or promotional products, professional digitizing ensures your logo looks crisp and professional.
By understanding the digitizing process, choosing the right file formats, and working with an experienced digitizer, you can achieve flawless embroidery every time.
Need a Digitized Logo for Embroidery?
If you’re looking for expert logo digitizing services, [Your Company Name] offers high-quality, fast, and affordable digitizing with free revisions. Get a quote today and elevate your branding with precision-stitched logos!


