How to Set Up and Start Using the Silhouette Cameo 5

silhouetteamerica


The Cameo 5 Silhouettes have changed the world of craft and DIY projects. Being a precision, versatile, and tenacious cutting machine, it is necessary for beginners and more expert artisans. With Cameo 5, the world of creative potential opens up with intricate paper design and user vinyl stickers. This guide will show you how to set up your Silhouette Cameo 5. That will get you going on transforming your art thoughts into actuality. Jump into the field of the digital cup. The master shows you how it can be harnessed.
The Cameo 5 Silhouette is a writing on crafts all at once. Its configuration is simple, whether you are a beginner or just updating your tools. This guide makes unpacking and preparing your car easy. You will also see how to light it up. Ultimately, you can make a Cameo 5 or Cameo Pro 5.
If you are confused with the Silhouette Cameo 5, ensure all parts are present.
Before continuing, do check these two items twice.
 Once you have finished these simple processes, you’ll have your Silhouette Cameo 5 up and running. It’s a simple process, especially since it’s easy to learn the functionality, even for a beginner. The Cameo 5 Pro, or the standard model, is a smooth manufacturing experience.
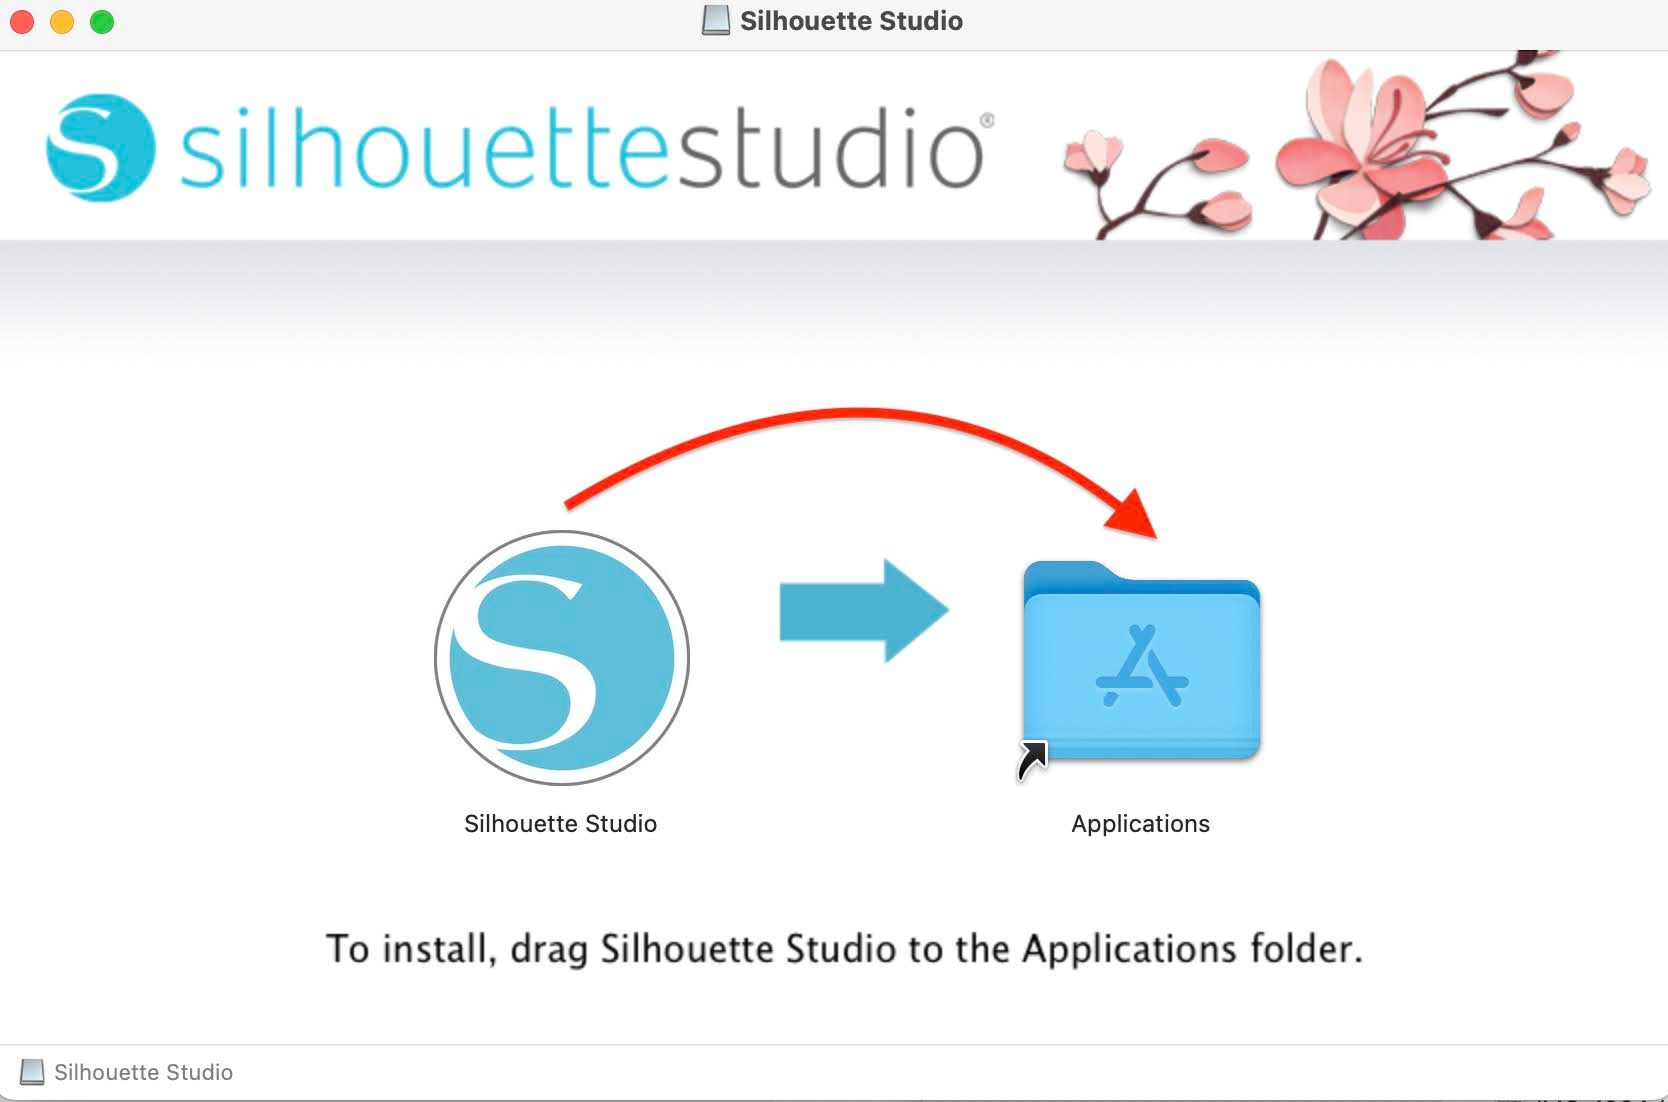
The Silhouette Cameo 5 software has to be configured. It presents all the possibilities available. It is easy to set up, has easy connection settings, and is relatively simple software. If you follow these steps, you’ll have a successful fluid installation and connection process.
It will be the primary tool for designing and sending projects to your Cameo 5.
The Cameo 5 comes with a USB or Bluetooth connection to your computer.
Moreover, the wireless connection offers excellent flexibility. This is handy for projects requiring a large workspace or multiple devices.
So, ensure your car firmware is updated for optimal performance.
This process takes 5-10 minutes. It’s important to use it and access some new features for compatibility and use.
After these steps are finished, you can use your Silhouette 5 Cameo. Cameo 5 Pro will make a smooth and comfortable experience for big projects or complex ideas.
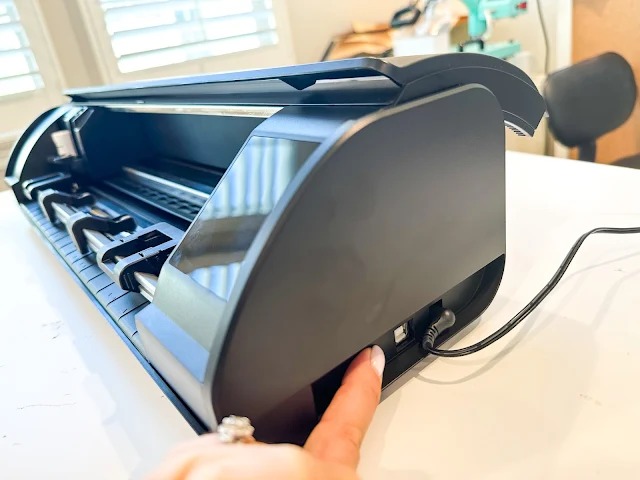
The Silhouette Cameo 5 is user-friendly. Load materials and tools correctly to get accurate results. The following steps will help you prep your Cameo 5 when you work on your next project.
Cameo 5 has Autoblade as a key feature. Other than that, it’s automatically tuned to different materials. Here’s how to install it:
This process controls the blade depth change during cutting. It provides accuracy, and as a result, it is easy to use.
The cutting carpet is necessary to contain the materials at the time of the cut. Good preparation guarantees smooth operation:
For complex concepts, accurate cutting is most likely to occur with this alignment
Then, the equipment is secured to the carpet and attached to the machine.
Consider using a roll feeder if you plan on doing significant projects with your Cameo 5 Pro. It is a straightforward way to process large materials.
It now allows you to unlock the full potential of your Silhouette Cameo 5. Not only does that let you easily create professional, beautiful projects, but it also helps you get the design exactly right the first time.
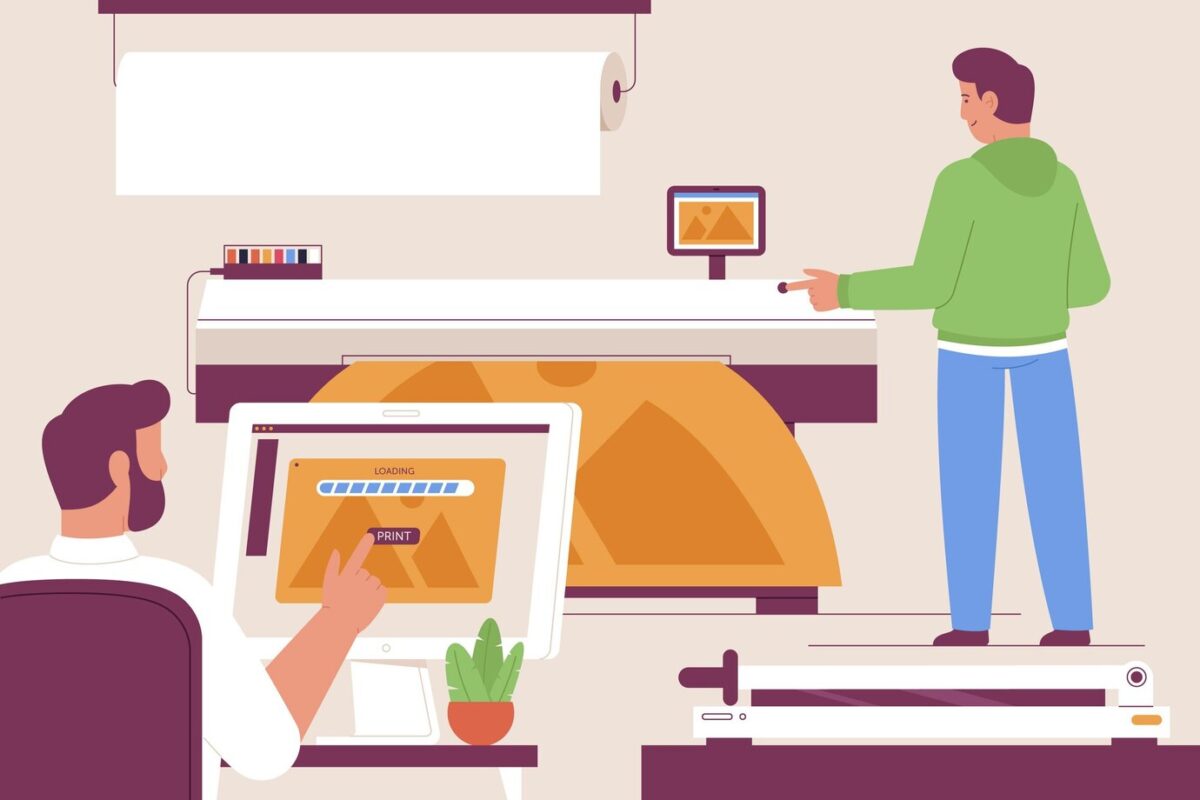
A universal cutting machine that promotes projects and creates them more concretely. When creating your first project, it is easy to become a beginner or an experienced user. Below, we explain how to define your cutting parameters; send your design to be cut with Cameo 5 Pro.
This Cameo 5 creates the ability to have various designs; thus, it is ideal for personalized work. Intuitive software allows you to work on paper trading or vinyl decals.
With Cameo 5’s advanced features, you can process different materials properly and effectively. The automatic blades are also tailored seamlessly to the material you choose.
Cameo 5 Pro is a good choice for creating more complex designs. These features are also included for more advanced applications for professional-class projects.
After these steps, you can easily make your first project. With the Silhouette Cameo 5, you will be opened to endless creative possibilities. You can bring your idea back to life without wasting money or time. Happy crafting!
The supplied roller cuts long materials without a mat in Cameo 5.
Double transport is available on Cameo 5, so you can use two tools simultaneously.
The Cameo 5 Pro comes with all the cutting capabilities for those who require more significant cutting capabilities.
To keep your Cameo 5 running at peak condition:
A comparison of Cameo 5 to other popular cutting machines consists of:
| Feature | Silhouette Cameo 5 | Cricut Maker 3 | Brother ScanNCut DX |
| Max Cutting Width | 12 inches | 13 inches | 11.7 inches |
| Wireless Cutting | Yes (Bluetooth) | Yes (Bluetooth) | Yes (Wi-Fi) |
| Built-in Scanner | No | No | Yes |
| Force | 5kg | 4kg | 3.5kg |
The experience of using the Silhouette Cameo 5 on a digital craft is an exciting journey. The cutting machine of ours is user-friendly and has versatile features. This facilitates the quick and accurate formation of creative ideas into reality by crafters. These steps will help you to be successful with your project. So, you are ready to start with a complex paper design, vinyl sticker, or school project. Use it to your best ability. Experiment with different materials. Explore the latest software features. With the Silhouette Cameo 5, you will enjoy your crafting experience!